Showing posts with label lunch. Show all posts

Thursday, February 13, 2014

Creamy Pineapple/Avocado Slaw


I love fish tacos. I don't understand how anyone couldn't love fish tacos, well unless they just don't like seafood or unless they happen to be my mother. MOM, try them. Seriously. They are so good. I digress. I created this slaw as I usually order fish tacos out at restaurants and they always have some delicious mango or pineapple slaw to go with it. I figured I can make something just as yummy at home. This is also great as a side for sandwiches or even on its own. I recently served this with cuban sandwiches which all paired really well together. The kahlua pork on the sandwiches and pineapple were meant to be eaten together. 

Its creamy, savory, and sweet but also a bit crunchy due to the broccoli slaw. Its a great dish any time of year, and everyone will be impressed when you show up with this deliciousness.

  • 1 bag broccoli slaw mix
  • 2 avocados cut into chunks
  • 3/4 cup raisins
  • 1/2 cup light mayo
  • 3/4 cup cilantro salad dressing (trader joes) - or make your own
  • 1/2 fresh pineapple cut into small chunks
  • 3 tbsp minced red onion
  • 1 tbsp lime juice
  • 1/2 tsp red pepper flakes

DIRECTIONS:

  1. Empty bag of slaw into large mixing bowl
  2. Add pineapple, raisins, & onions
  3. Mix in mayo and cilantro salad dressing - adding more of either ingredient if you wish.
  4. Add in lime juice, red pepper flakes and mix again.
  5. Add avocado last and serve

Step 2: Adding pineapple, onion & raisins to bagged slaw
Step 5: Mixing all ingredients - avocado last

Dinner is served!


Sándwiches Cubanos (Cuban Sammies!!)

 So my kitchen looks like this as we get new tile on the floor & backsplash:


And due to this, blog posts have been on hold for a while. In the meantime, we had some kalua pork to use and I was NOT letting this delicious meat candy goodness go to waste. This is where our good pals Rebecca & Joel come in. You'll remember their smiling faces from the gnocci class post I did in January. We took our pork and other sandwich fixins and headed over to their house for use of their kitchen and our first group blog event!  We realized upon our arrival, that our husbands had on the same outfit, and both wearing sweat pants which they deem 'nice sweat pants' for when company is over. Yikes.
-

I had my first cuban in Miami, and it was so yummy. The savory salty pork with the tangy mustard and tart pickles with ham and creamy cheese, hands down it gets my vote for best sandwich. 'Sandwiches' may not seem like much of a culinary challenge...but layering flavors correctly isn't always easy. With the cuban, luckily someone's done the work for us.
I served the sandwiches with my creamy pineapple/avocado slaw. And here we go:

INGREDIENTS:

  • 3 cups kalua pork (or any shredded pork will do) 
  • 4 individual french baguettes or long subway rolls
  • 8 tbsp mustard
  • 12 sliced dill pickles (not spears)
  • 8 slices berkshire ham
  • 8 slices baby swiss cheese
  • Special equipment: panini press, sandwich press, a heavy object that can go into the oven

DIRECTIONS:

  1. Heat oven to 350 degrees.
  2. Slice rolls lengthwise and on both sides of the roll, remove a little bit of bread to make little troughs.
  3. Toast in oven for 2- minutes, just to get the inside warm and slightly crunchy. Ensure the bread is still soft, do not over toast. 
  4. Remove bread from oven and allow to cool just enough so you can start working with it - don't burn those fingers! 
  5. Spread 1 tbsp on bottom half of roll & 1 tbsp of mustard on top half of rolls (it seems like a lot, but its just right). The bread soaks up a lot, you may even need to add more. 
  6. Ensure the pork is hot. If it needs to be heated up, place in microwave and ensure it is very hot for assembling sandwiches.
  7. In the bottom trough of each roll, place 1/4 of the pork. 
  8. Top with two slices of berkshire ham so the pork is covered. 
  9. Top with two slices of swiss cheese so the ham is covered.
  10. Top with 3 pickles to cover the swiss cheese.
  11. Place the top half of the bread onto the bottom half (that is holding all the goodies).
  12. Place all sandwiches onto a baking sheet.
  13. Place another baking sheet on top of the sandwiches and press down. Place a weight or sandwich press on top - or use your panini maker to press and toast sandwiches.
  14. Place in oven for approximately 5 -8 minutes, until cheese melts and bread is hot again.
  15. Remove from oven, slice diagonally and serve immediately. 

Sandwich assembly line
Step 5: Placing mustard on top & bottom halves of bread
3 dogs watching me, 1 dog posing for camera (she's special)
Step 9: Topping pork & ham with swiss cheese
Step 13: Placing cookie sheet and weight on top of sandwiches
Toasty sammiches out of oven!
Step 15: slicing
Step 15: Slicing
Look at the yummy goodness!


Wednesday, February 5, 2014

Roasted corn, asparagus & shitake mushroom salad


I try to add vegetables to every meal we eat. I like to eat fried food (noted in the egg rolls above), and I like creamy food and buttery food. I try to manage the balance with healthy and light eating during the day, ensuring I eat vegetables with most meals, and doing all the crazy not-so-healthy stuff in moderation. 

Now, with all that being said, I used to fall into a routine of the same veggie side dishes which is boring. Vegetables can be soooo delicious and I'm starting to find all sorts of fun new ways to prepare them. We are roasting and toasting all sorts of vegetable goodness up in here. This one recipe came out of my head, and I was very pleased the first time I made it.  Tonight I made a roasted corn, asparagus, and shitake mushroom salad using sashimi togarishi which is a spicy and smokey Japanese seasoning. 

INGREDIENTS:

  • 10 asparagus stalks, thin, cut into 1.5 inch sections
  • 1 package shitake mushrooms, stemmed and sliced (discard stems)
  • 1 ear of grilled corn OR 1 can of corn (I used canned tonight, its winter and fresh corn is scarce)
  • 1 tsp shichimi togarishi (can find in specialty Asian food stores/markets)
  • 1 tsp teriyaki sauce
  • 2 tbsp EVOO

DIRECTIONS:

  1. If using canned corn, remove from can, strain and lay on paper towel to dry. If using grilled, cut kernels from cob and set aside. 
  2. Heat oven to 400 degrees. 
  3. Line two baking sheets with foil as each ingredient has different cooking times. This allows you to easily remove the vegetables that are finishing first. 
  4. Place asparagus into small mixing bowl, pour half of a tbsp of oil into the bowl, season w/ salt & pepper. Pour onto left half of one of the baking sheets.
  5. In same bowl, place mushrooms, pour other half of tbsp of oil into the bowl, season w/ salt & pepper. Pour onto right half of the baking sheet - opposite asparagus.
  6. In same bowl, place the corn (again if using canned only). Pour 1/2 tablespoon of oil into the bowl, season with salt & pepper, then mix well.  
  7. Place onto the other baking sheet and put in oven on top rack. 
  8. Place the asparagus & mushroom baking sheet on rack below corn. 
  9. Roast for approximately 5 minutes, then check on mushrooms, they will be done first. 
  10. If the mushrooms are starting to brown and turn up at the edges, and you can smell them, they are ready. If not give them another couple minutes. Using a spatula remove the mushrooms from the baking sheet and place back in original mixing bowl with a bit of olive oil left residually. 
  11. Put asparagus back in oven for another 3 minutes or so. Check for doneness. A fork should enter the asparagus fairly easily but should not be soft or mushy. 
  12. If done pour into the bowl w/ the mushrooms.
  13. Check on the corn, the cook time should be about 10 minutes by now. Turn the corn a bit and then turn oven to low broil until corn becomes slightly browned in spots. Should take about 3-5 minutes. Keep a close eye - things can go bad quickly when broil is on. :)
  14. Remove corn and add to bowl.
  15. Toss in the shichimi togarishi, teriyaki, and the remaining 1/2 tablespoon of olive oil. Stir well and serve. 

Step 4: Asparagus mixed with EVOO & salt/pepper - placed on baking sheet
Step 5: Mushrooms mixed with EVOO & salt/pepper - placed on baking sheet
Baking sheet w/ both asparagus and mushrooms
Step 6 & 7: Mixed corn with EVOO, salt & pepper, then placed on baking sheet
Final product served with Monte Cristo egg rolls and wasabi mojo 


Tuesday, February 4, 2014

Tuna Salad with Dill and Jalapeño


So its pouring snow here in Kansas City, and I am having a snow day! First off, snow days aren't what they used to be. Unfortunately today I didn't play in the now, eat grilled cheese w/ tomato soup, nor did I drink hot chocolate.  But I did stroll down memory lane a bit when I made tuna salad today. My family often made tuna salad and they lovingly called them 'tuna bombers'. I think the term stemmed from us packing so much salad on the bread it was going to be a 'gut bomb'. Yeah - we are weird. 

Tuna salad isn't anything fancy, but its a staple at our house now. I always have the ingredients for it and we make it a lot.  I love it. I take it work since I usually eat at my desk, my husband loves it, you can put it on sandwiches, green leaf salads, pasta salad, eat it w/ crackers, eat it by itself, whatever! If its going to be a staple, then it should be delicious right? So I took that tuna salad from my childhood and pumped it up a bit. I think its delicious and hope you do too. :)


Snowy Tuesday that started us down the tuna salad path

INGREDIENTS:

  • 2 cans of albacore tuna in water
  • 3 large eggs
  • 3 tbsp diced pickled jalapeños
  • 3 diced pickle slices (I use the long sandwich slices or you can use 2 large spears. The slices are easier to get an even dice) 
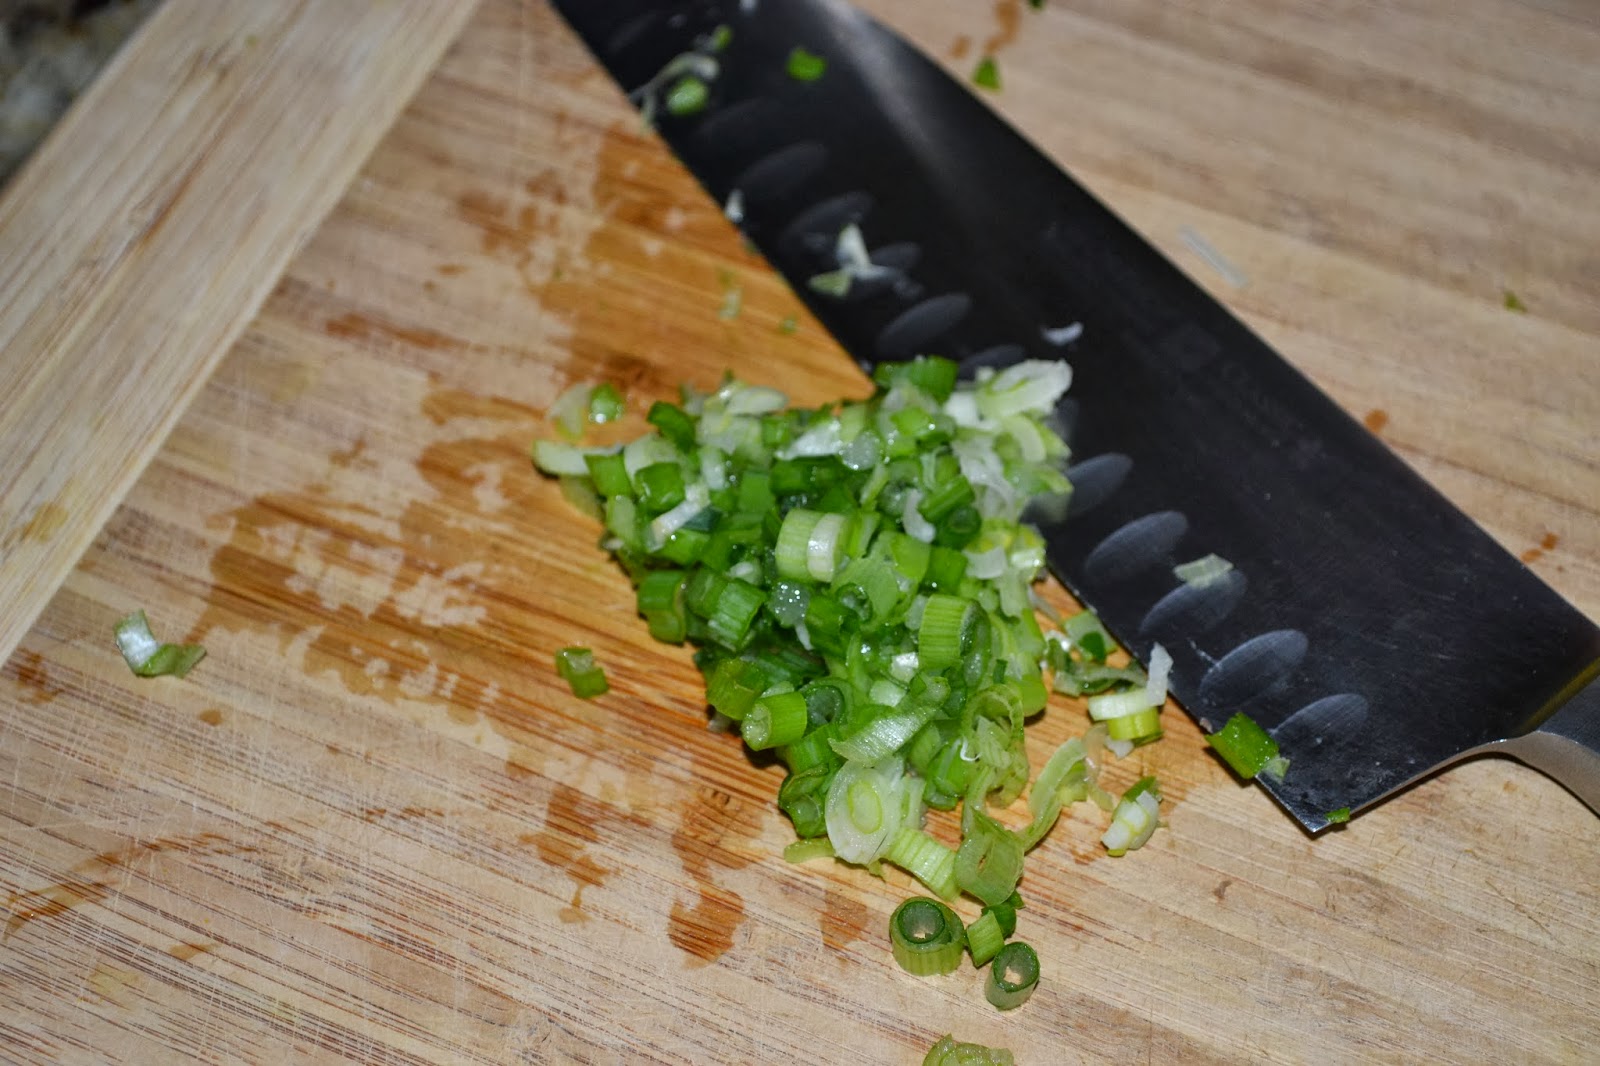
  • 2 green onions sliced into extremely thin rings (only use the section from the white base halfway up the stalk - using more of the white part than the green)
  • 3 tbsp light mayo 
  • 3 tbsp yellow mustard
  • 1 tbsp dried dill
  • 1 tsp ground black pepper
  • 1/2 tsp salt + more on hand for final seasoning


DIRECTIONS:

  1. Boil the 3 eggs until hard boiled. Put eggs into cold water and once the water begins to boil, set timer to 7 minutes. Keep boil at a soft rolling boil to ensure eggs don't crack in the process. 
  2. Pull eggs off heat at 7 minute boiling mark and leave in water for 3 more minutes. Dump out most of hot water and run lukewarm water over eggs until they are cool enough to handle. 
  3. Starting with one egg only, peel and slice in half to ensure the eggs are done. chop and set aside. 
  4. If eggs are done, chop and set aside. 
    • If eggs are not done, toss other eggs into microwave for no more than 15-30 seconds to ensure they are done. After 7 boiling minutes they should just need a bit of a push. 
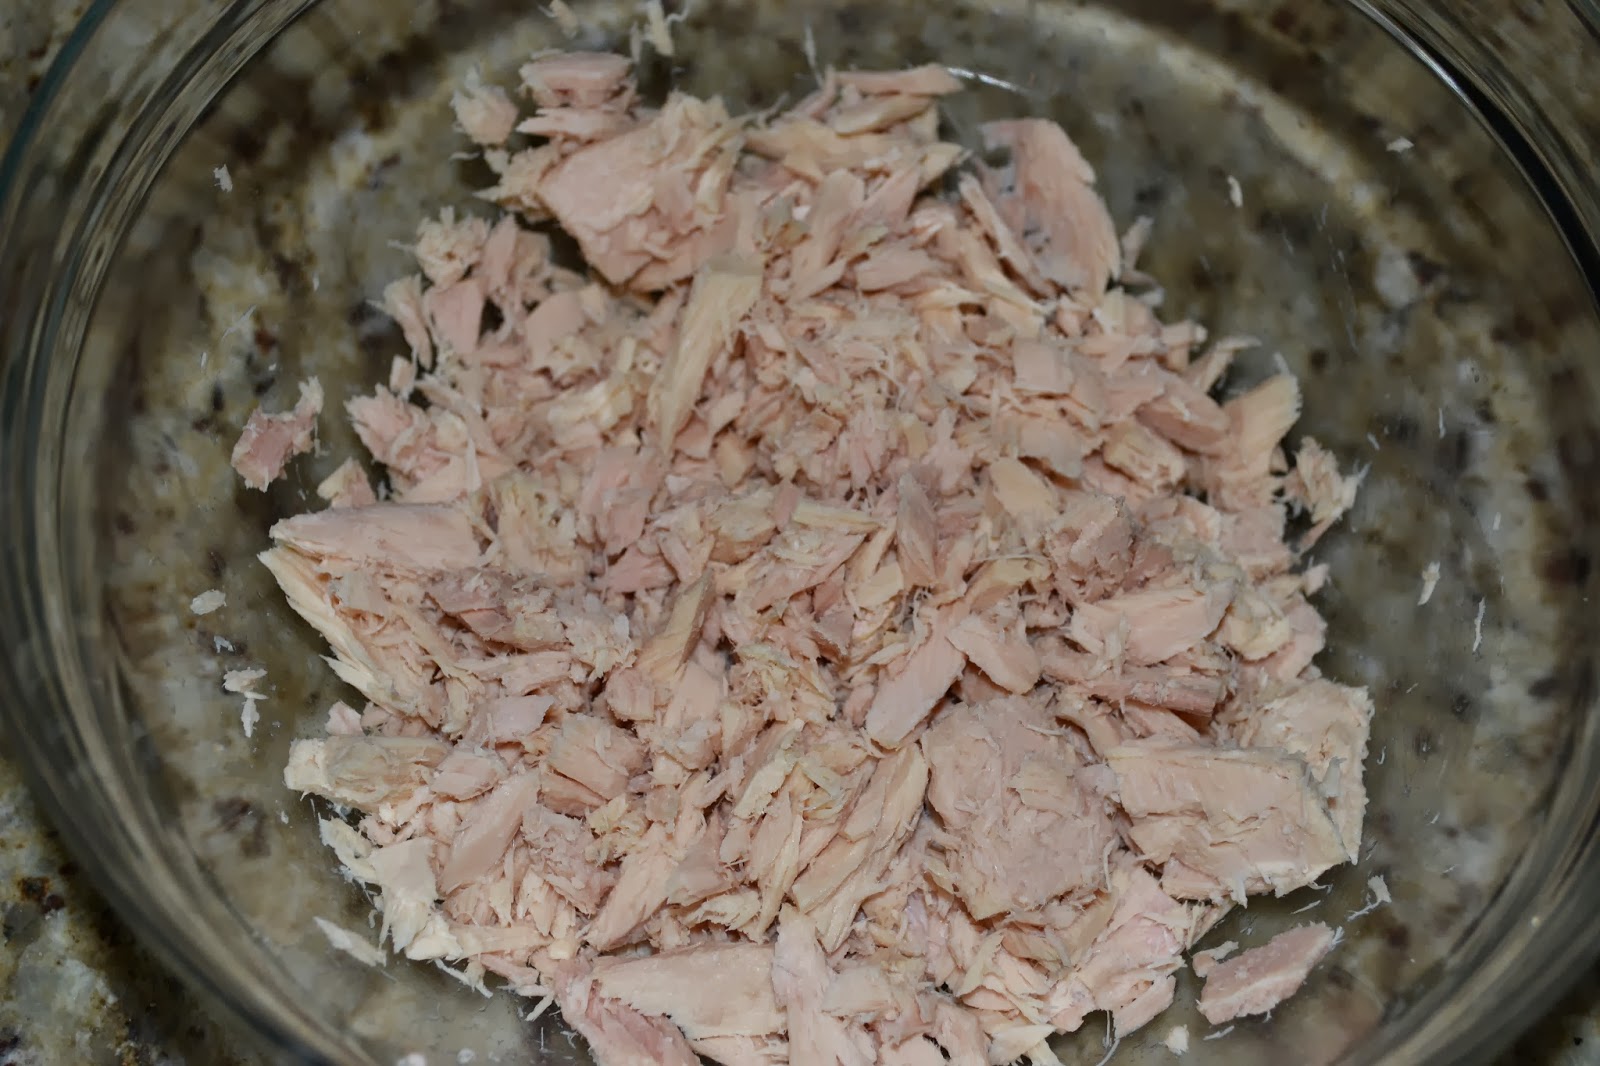
  5. Strain canned tuna from water, and put into bowl. Using a fork, break apart large chunks. 
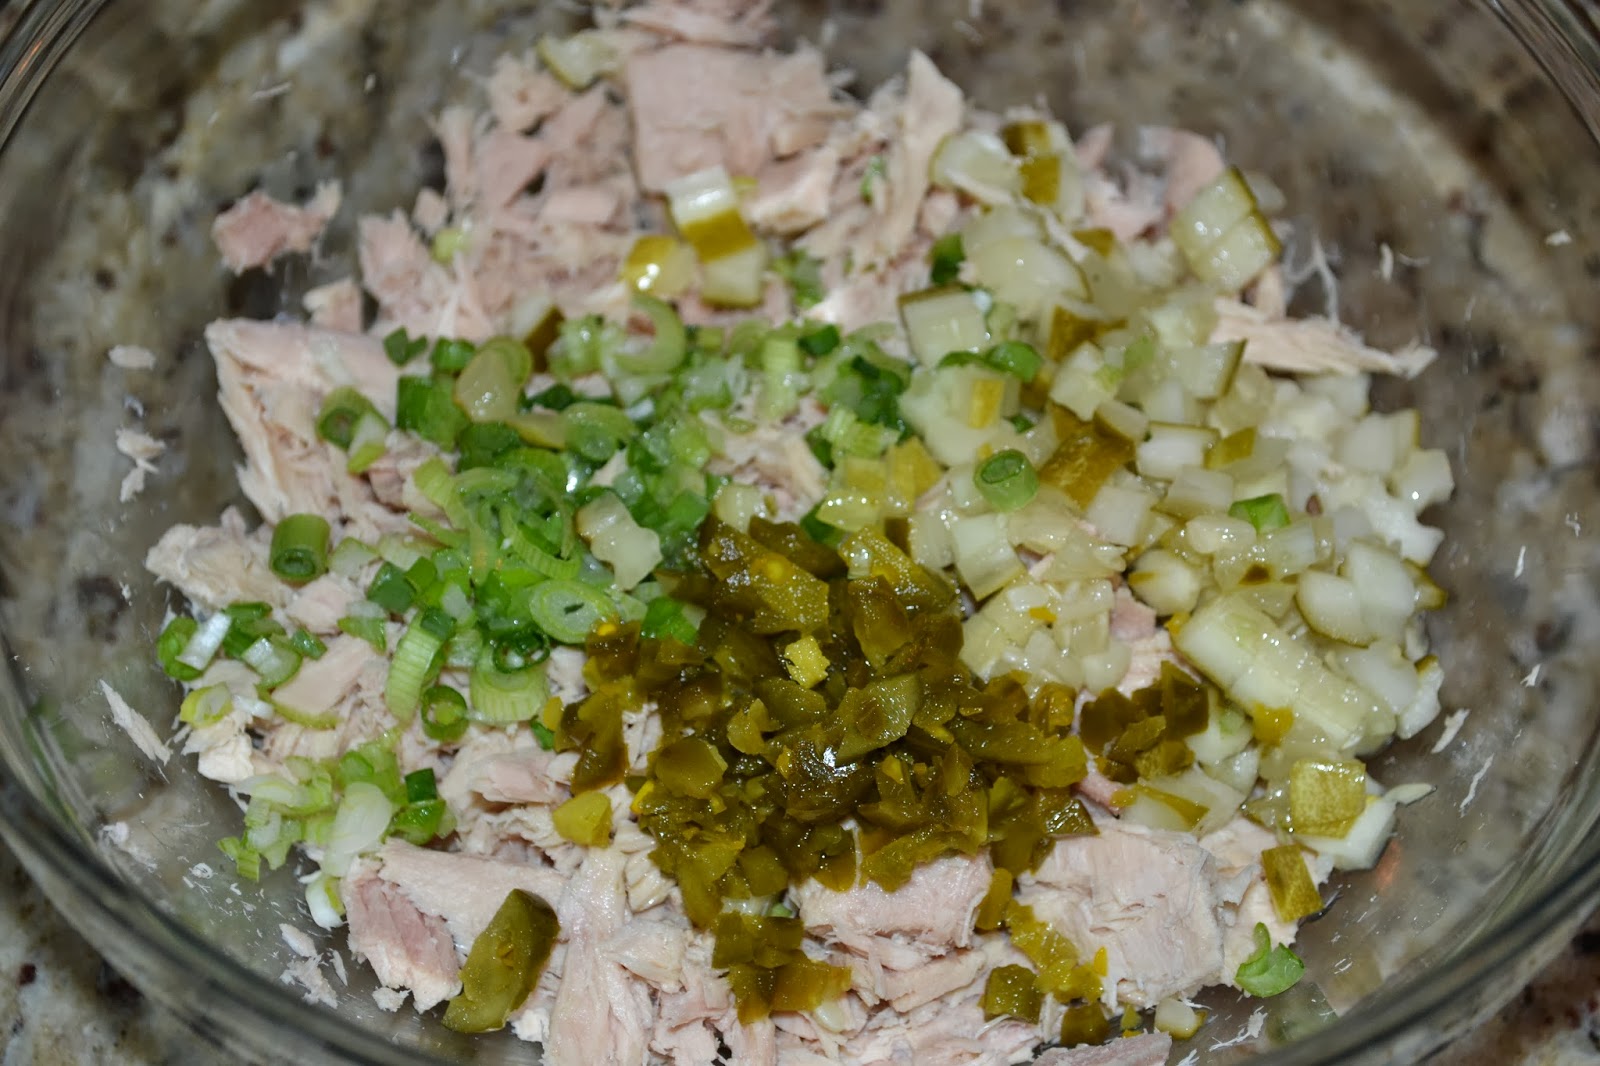
  6. To the tuna add the chopped green onion, pickle and jalapeno.
  7. To the bowl add the remaining ingredients - mayo, mustard, salt, pepper, dill. 
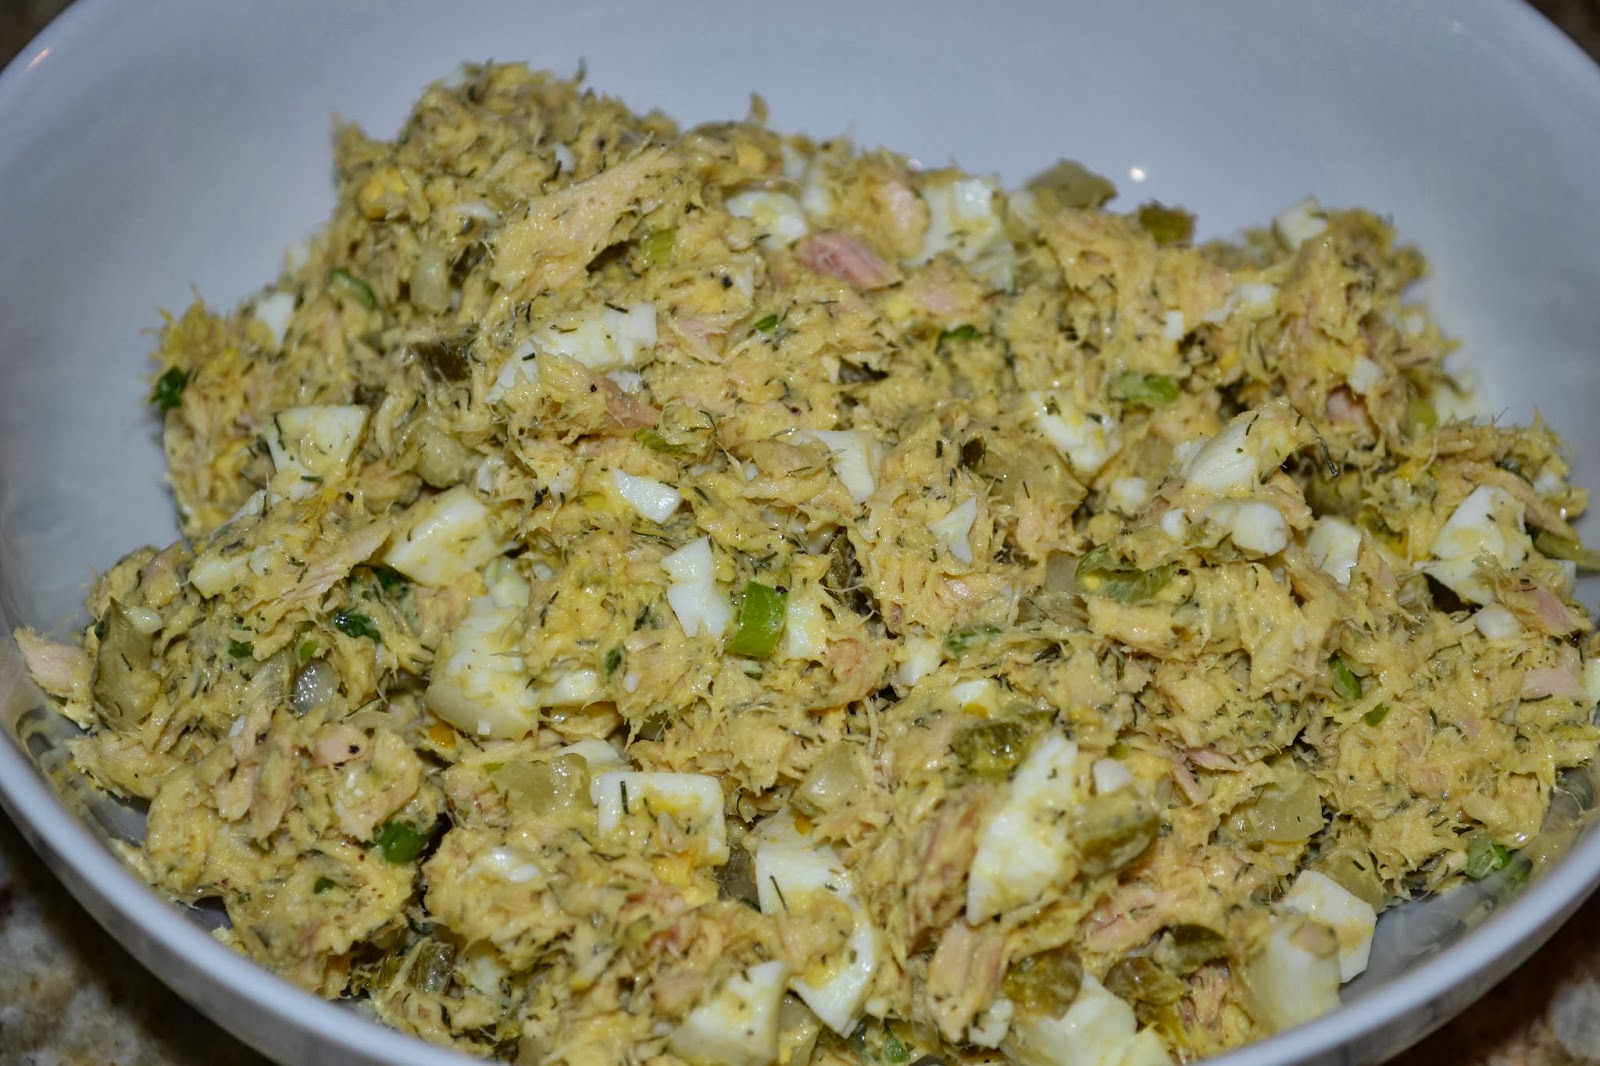
  8. Mix well and taste. Tuna salad is great since you cant really mess it up. Add any more ingredients you aren't tasting or you would like to taste more of.
  9. Cover and refrigerate for at least 1 hour. 
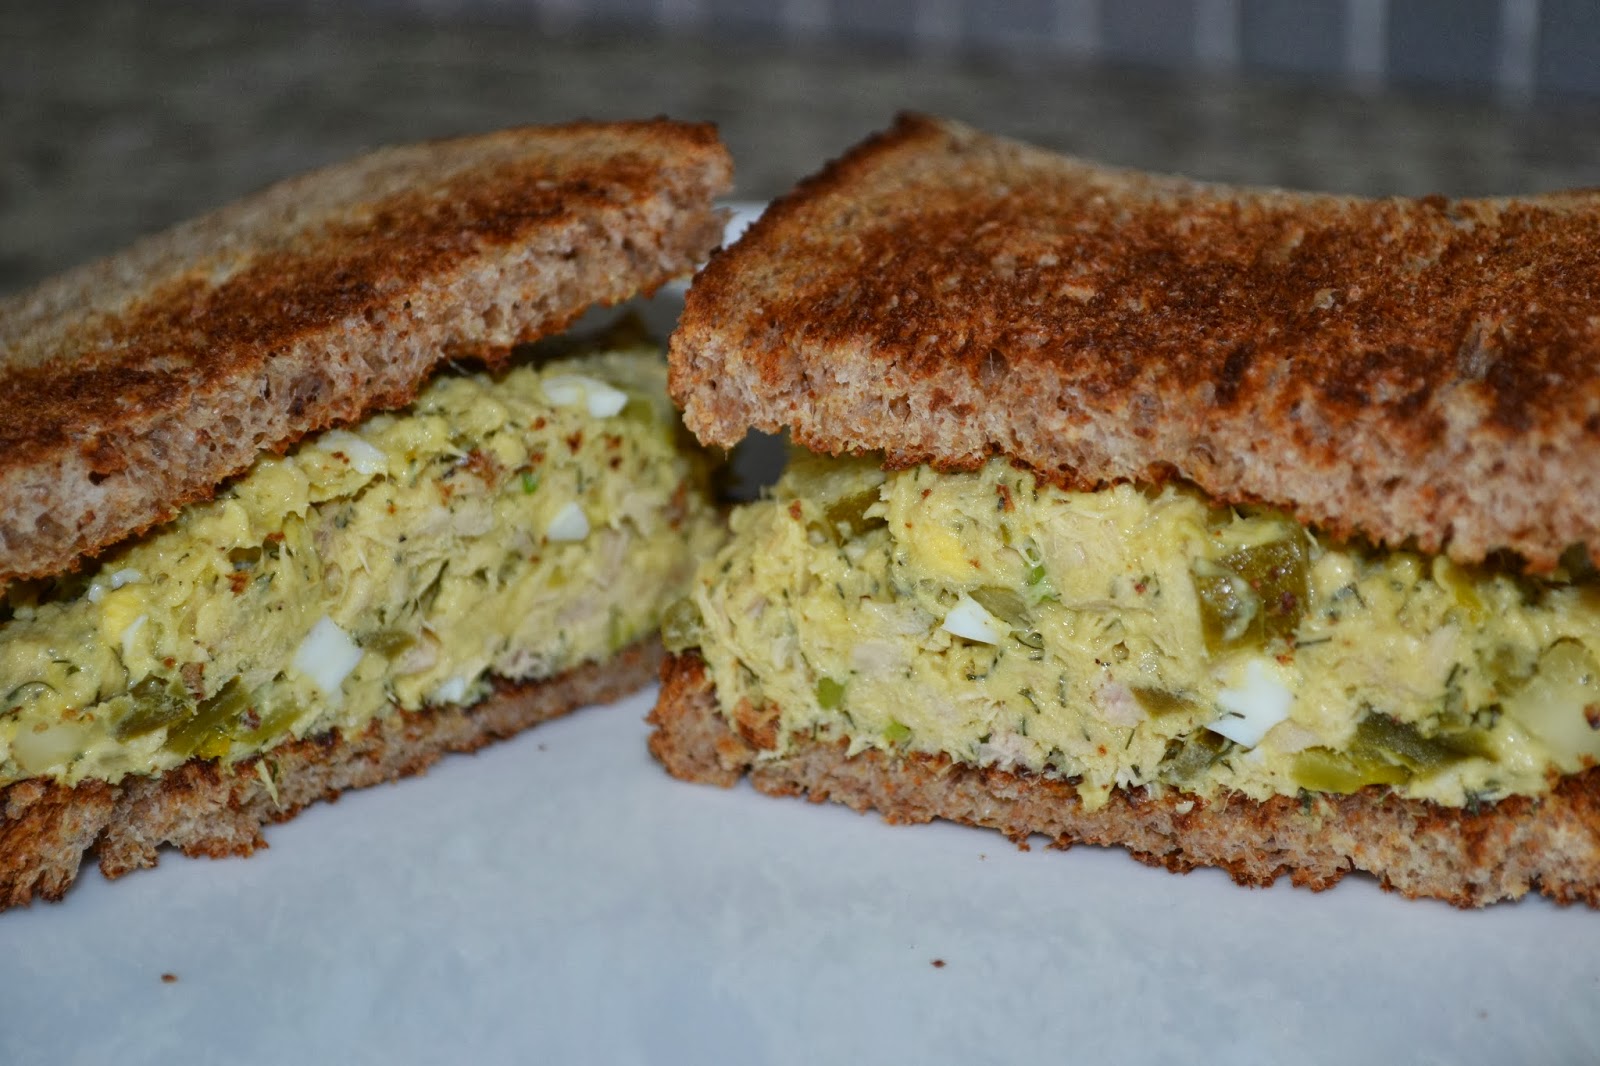
  10. If serving a sandwich, toast the bread and load up with tuna salad. 
Enjoy!
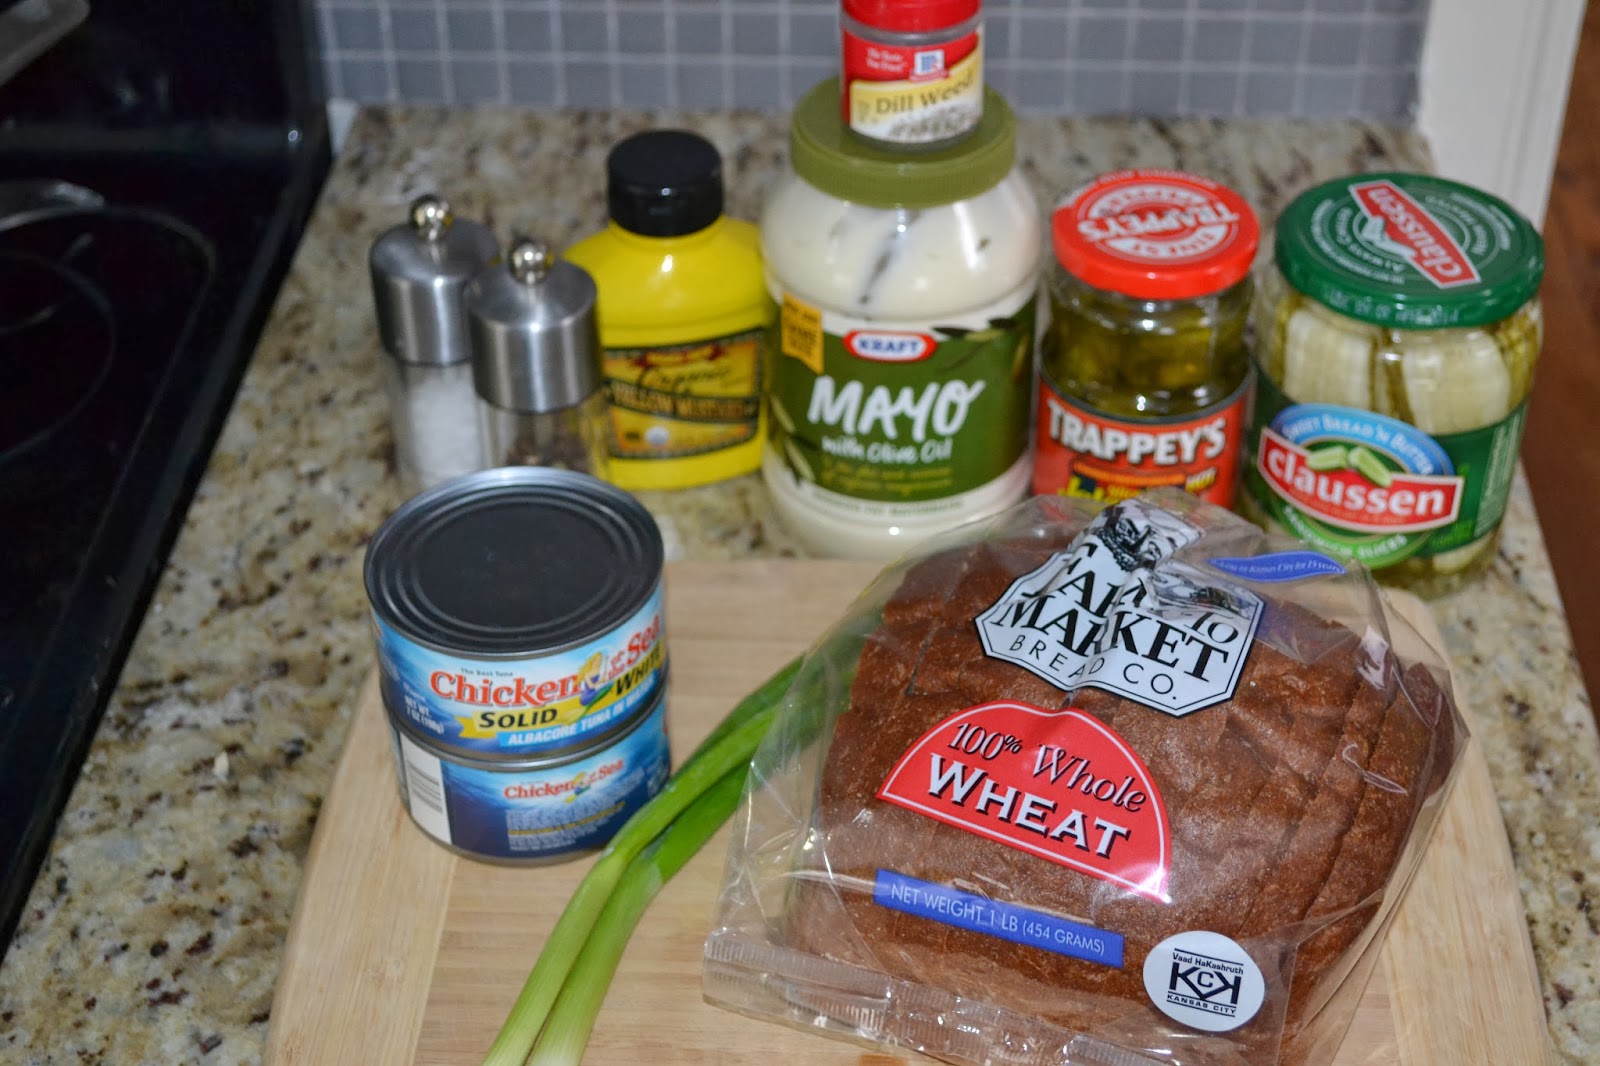
Ingredients
Step 1: Boiling eggs
Step 3 - checking for doneness
Step 3 - chopping eggs
Step 5: Tuna out of can, strained and broken up. 
Chopping green onions
Step 6: Adding green onion, pickle & jalapeno
Step 8: Mixed tuna salad - time to refrigerate!
Step 10: Sandwich presentation