Wednesday, February 5, 2014

Kalua Pork


Pulled Kalua Pork
Kahlua pork is a Hawaiian cooking method that utilizes an 'imu' which is an underground oven. The word kālua means 'to cook in underground oven'. When pork is cooked via this method its then dubbed 'kalua pork'. Now I didn't go dig a hole in the yard for this recipe, although we do have some nice holes thanks to Arlo and LuLu (our lovely fur-babies). Plus, I am not that dedicated. I am doing the faux method via crockpot, and it turned out so wonderfully. 

There is very little prep done for this, its the best of things when you keep the recipe simple. This is a 3 ingredient recipe and is delicious.

The kalua pork can be used in a variety of ways: over rice, on tacos, in scrambled eggs, tossed in BBQ sauces and used like pulled pork, or just by itself! I am using it to make two dishes this week: monte cristo eggrolls and cuban sandwiches. 

INGREDIENTS:


  • 1 6 lb pork butt (boneless)
  • 2 tbsp sea salt
  • 1 tbsp liquid smoke

DIRECTIONS:

  1. Pat dry the pork butt with paper towels.
  2. Place pork fat side down in crock pot and smother the pork in the 1tbsp of liquid smoke and then half of the salt. 
  3. Turn fat side up, smother with remaining salt and turn to low. 
  4. Cook pork for about 10-12 hours, or until the pork tears apart easily with a fork. You need the pork to be extremely tender and juicy. 
  5. Pull pork from crock pot leaving the drippings. 
  6. Shred and pull apart fat. Throw away fat and put shredded pork in a bowl. 
  7. Strain drippings and set aside strained liquid to serve with pork. Discard solids strained from drippings.
  8. Reserve drippings for future sauces or to reheat when serving leftovers
    • When refrigerated the fat in the drippings will solidify so its easier to pull off the fat, reheat and use drippings again with leftovers. 
  9. Toss the pork in with some of the drippings and serve.
Step 2: Pork fat side down, rubbed with salt and liquid smoke
Liquid smoke - this will make you smell like a BBQ, use gloves if you can.
Step 3: Turn pork fat side up, and turn on timer
Step 6: Pull pork apart with hands or two forks if still hot
Step 6: Continuing to pull pork apart, discarding fat
(fat on left, shredded pork on right)
Step 7: Strain drippings
ALL this liquid came from the pork itself, no liquid was added to to the roast!
FINAL PRODUCT! 

Tuesday, February 4, 2014

Loaded Potato Skins


SUPER BOWL XLVIII! I probably will get in trouble for using a trademarked term like 'Super Bowl'...but companies can't even say 'Big Game' anymore. Seriously guys - no-one cares. Anyways, I doubt this blog is making waves nationally among the NFL commission so I'll just continue with the post. The Super Bowl is here and we are ready!  Since the KC Chiefs didn't make it past one game in the playoffs (what a tragic game that was - damn Colts), I am not too interested in the game itself. but, I have a food blog so obviously I am in it for the food and I work in marketing/advertising so I too am in it for the TV spots. 

Our close friends invited us over for a small Super Bowl gathering, and we were asking to bring a dish. Potato skins are a pretty cheap appetizer and they are easy to make. They look like they took a lot of effort, and of course are gooey, cheesy and delicious! If are attending any sort of party in the future, this is easy and yummmmmy. 

Here's the skinny on the loaded potato skins:

INGREDIENTS:
  • 10 small - medium sized russet potatoes (makes 20 skins)
  • 1/2 stick unsalted butter
  • 1 bag shredded cheddar cheese
  • 5 strips bacon
  • 1 large bunch of fresh chives
  • 1 small tub low fat sour cream (not fat free, that stuff is truly without flavor)


DIRECTIONS:
  1. Scrub the potatoes well and set out to dry completely. Do this at least 2-3 hours ahead of time. 
  2. Preheat oven to 400 degrees. 
  3. Poke holes in the potato with a fork.
  4. Place potatoes in oven directly on the rack. Bake for 50 minutes and test for tenderness with a fork. Fork should enter and exit potato easily. 
  5. While potatoes are baking, cook the bacon until crispy, and crumble into small bits. While the potatoes are baking you can also chop the chives. 
  6. When complete pull from oven and let cool. Turn oven off.
  7. Slice potatoes in half lengthwise.
  8. With small spoon, scoop out about 1/2 inch of flesh to form a little trough within the potato. You can keep the flesh and make a small amount of mashed potatoes, or discard. Your call.
  9. Place the potatoes trough side down onto a baking sheet lined w/ foil.
  10. Melt butter in small dish in microwave. 
  11. With skin side up, brush half of the butter across all 20 of the potatoes. 
  12. Turn oven on high broil, and broil until skins begin to turn crispy and slightly darker brown - probably no more than 1-2 minutes. Keep a close eye, its very easy to burn food on broil. 
  13. Pull baking sheet from oven, turn the potatoes so the flesh side of the potato are right side up. 
  14. Brush the rest of the melted butter on the trough sides and place into oven on high broil setting for approximately 1-2 minutes until edges of the flesh start to turn brown and crispy.
  15. Pull from oven and fill each trough with the crumbled bacon first, then top with cheddar cheese.
  16. Place back in oven on low broil until cheese is melted and bubbly.
  17. Pull from oven and let cool for a couple of minutes. 
  18. Top with sour cream and then chives. 
  19. Remove from baking sheet and place onto serving platter.  
Eat and enjoy!


Step 4: Baking the potatoes
Step 7: Slice potatoes in half
Step 8: Scooping out potato flesh to make room for toppings
Toppings: Cheese, sour cream, bacon & chives
Step 15 & 16: Potatoes filled with bacon and cheese - broiled 
Final product 
The full spread!

Tuna Salad with Dill and Jalapeño


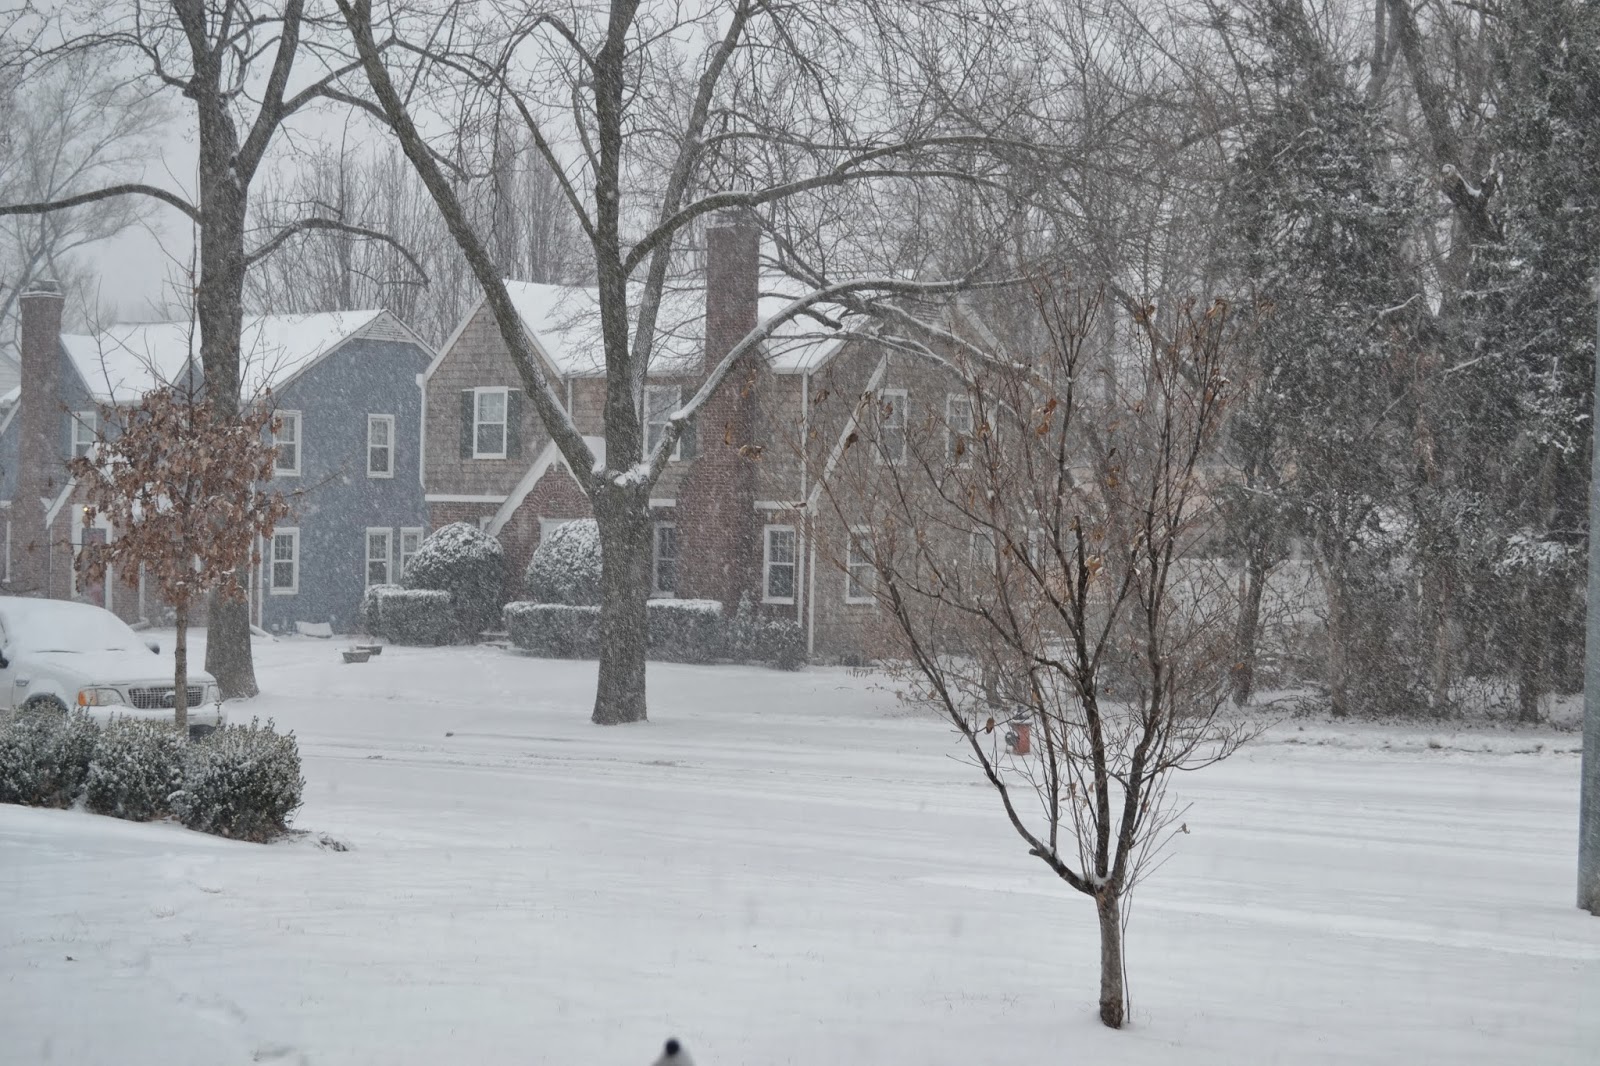
So its pouring snow here in Kansas City, and I am having a snow day! First off, snow days aren't what they used to be. Unfortunately today I didn't play in the now, eat grilled cheese w/ tomato soup, nor did I drink hot chocolate.  But I did stroll down memory lane a bit when I made tuna salad today. My family often made tuna salad and they lovingly called them 'tuna bombers'. I think the term stemmed from us packing so much salad on the bread it was going to be a 'gut bomb'. Yeah - we are weird. 

Tuna salad isn't anything fancy, but its a staple at our house now. I always have the ingredients for it and we make it a lot.  I love it. I take it work since I usually eat at my desk, my husband loves it, you can put it on sandwiches, green leaf salads, pasta salad, eat it w/ crackers, eat it by itself, whatever! If its going to be a staple, then it should be delicious right? So I took that tuna salad from my childhood and pumped it up a bit. I think its delicious and hope you do too. :)


Snowy Tuesday that started us down the tuna salad path

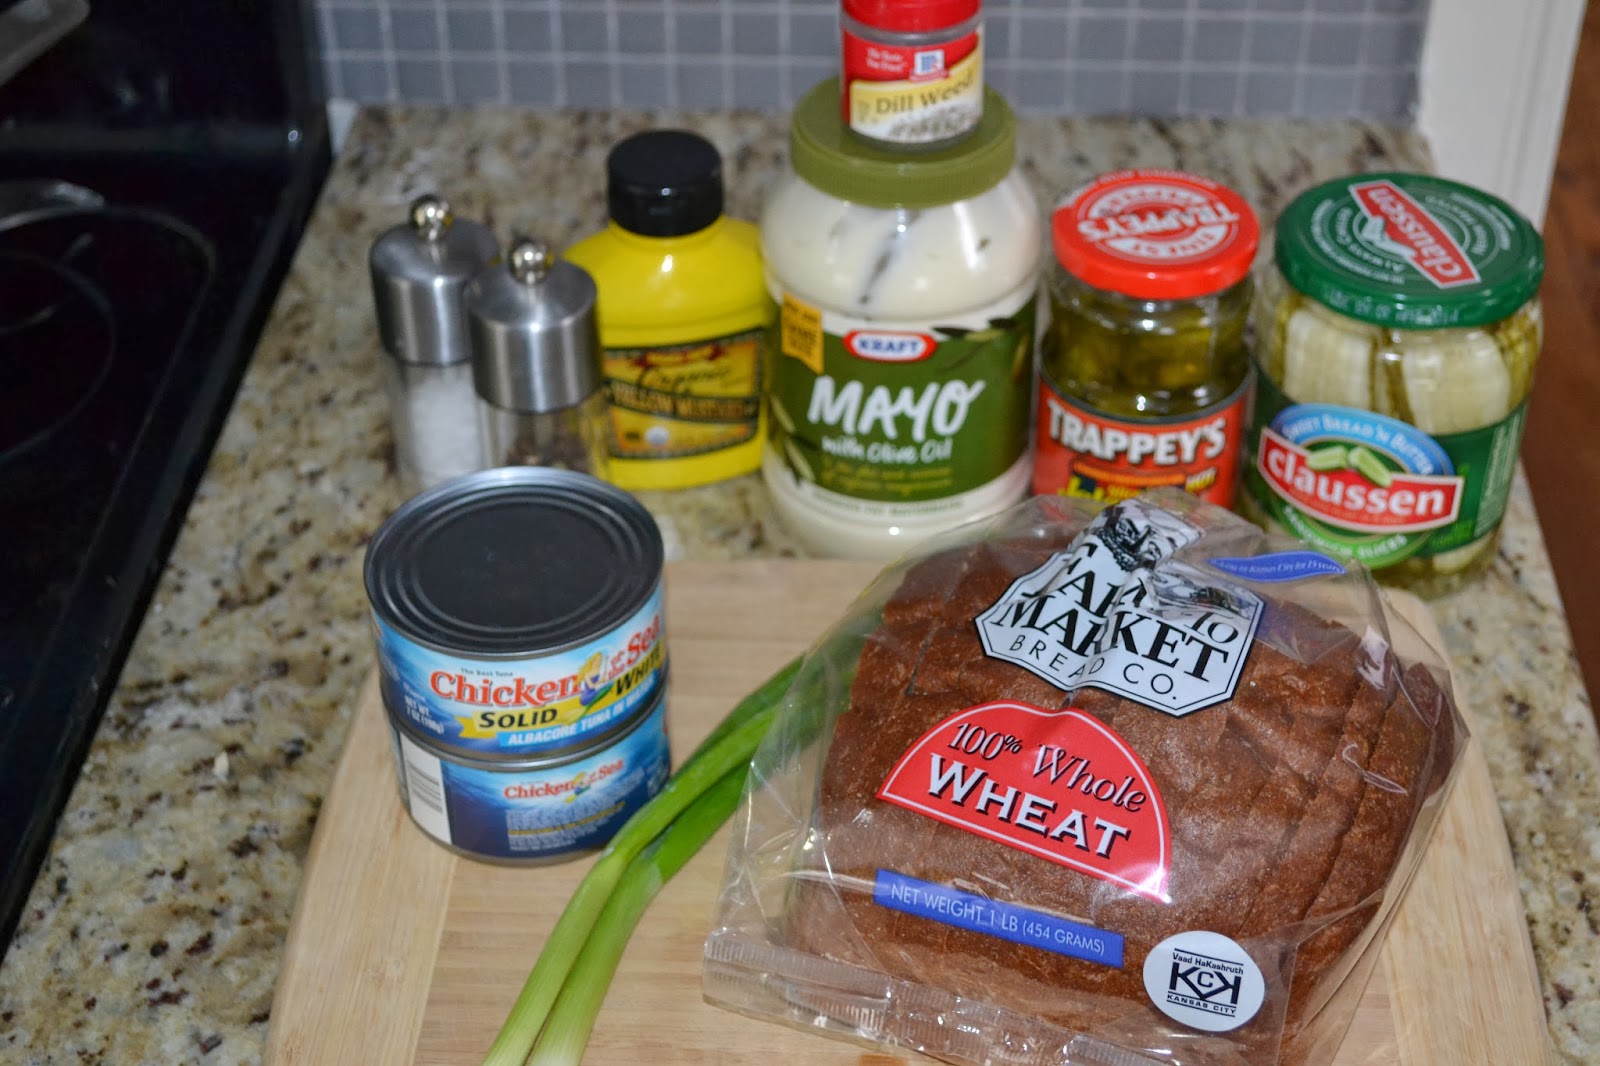
INGREDIENTS:

  • 2 cans of albacore tuna in water
  • 3 large eggs
  • 3 tbsp diced pickled jalapeños
  • 3 diced pickle slices (I use the long sandwich slices or you can use 2 large spears. The slices are easier to get an even dice) 
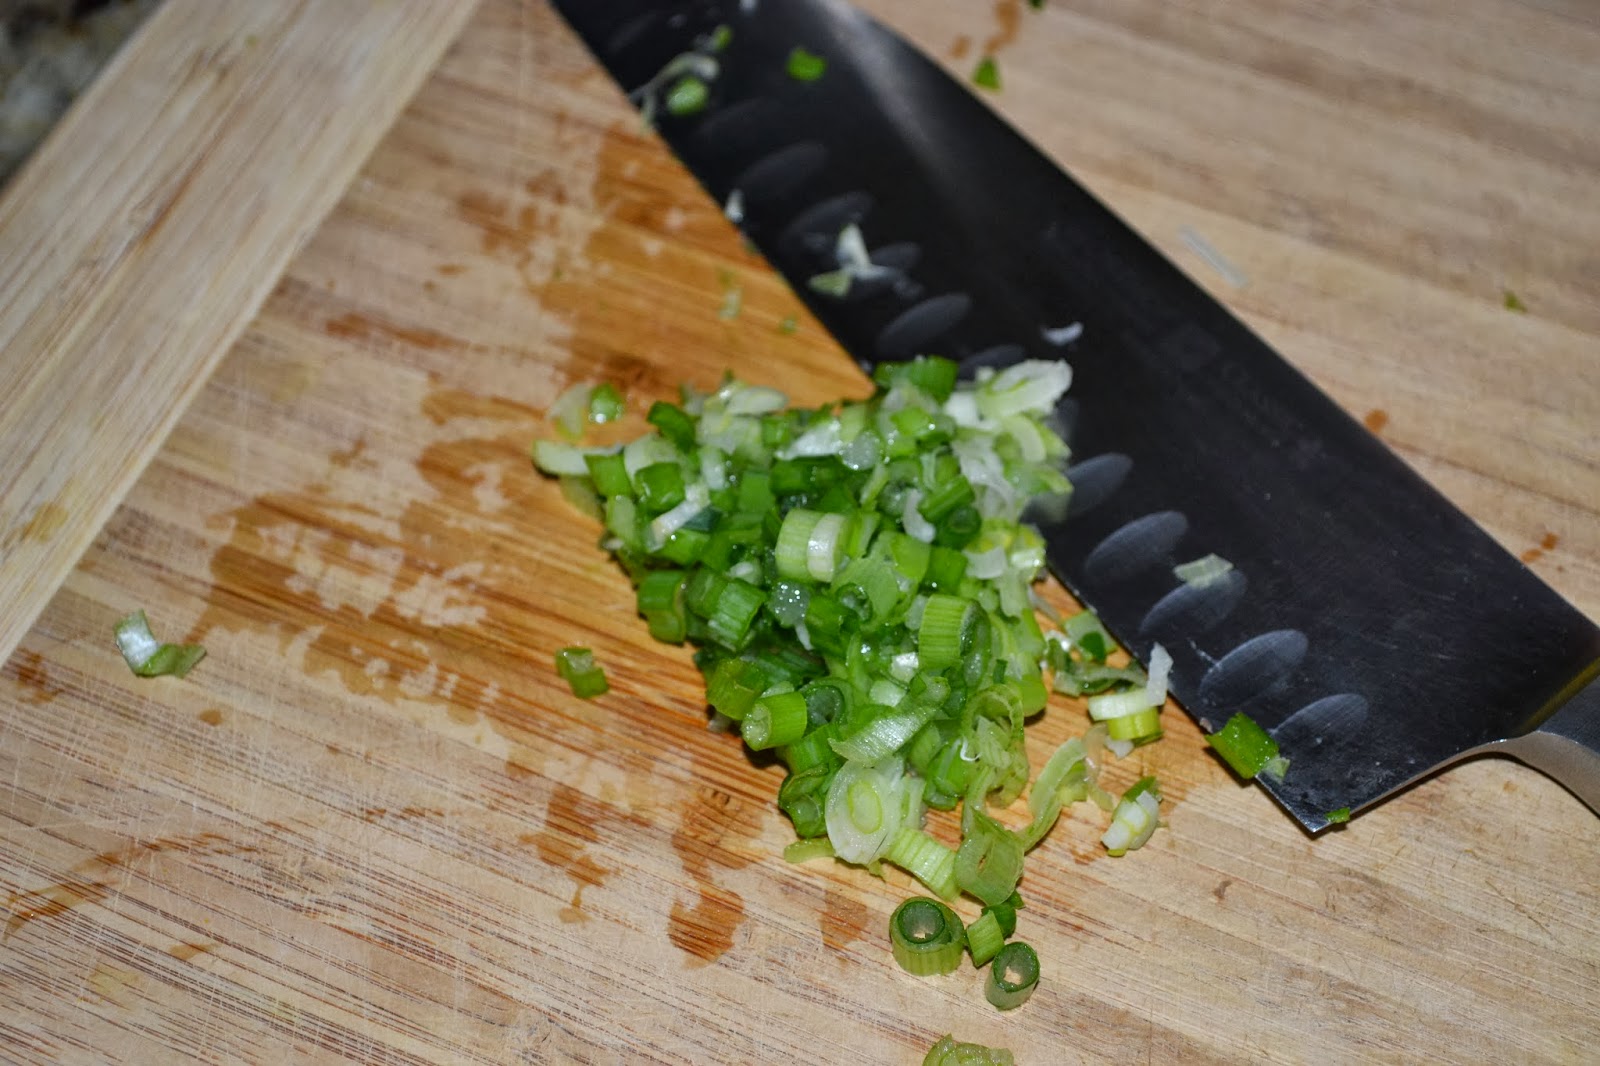
  • 2 green onions sliced into extremely thin rings (only use the section from the white base halfway up the stalk - using more of the white part than the green)
  • 3 tbsp light mayo 
  • 3 tbsp yellow mustard
  • 1 tbsp dried dill
  • 1 tsp ground black pepper
  • 1/2 tsp salt + more on hand for final seasoning


DIRECTIONS:

  1. Boil the 3 eggs until hard boiled. Put eggs into cold water and once the water begins to boil, set timer to 7 minutes. Keep boil at a soft rolling boil to ensure eggs don't crack in the process. 
  2. Pull eggs off heat at 7 minute boiling mark and leave in water for 3 more minutes. Dump out most of hot water and run lukewarm water over eggs until they are cool enough to handle. 
  3. Starting with one egg only, peel and slice in half to ensure the eggs are done. chop and set aside. 
  4. If eggs are done, chop and set aside. 
    • If eggs are not done, toss other eggs into microwave for no more than 15-30 seconds to ensure they are done. After 7 boiling minutes they should just need a bit of a push. 
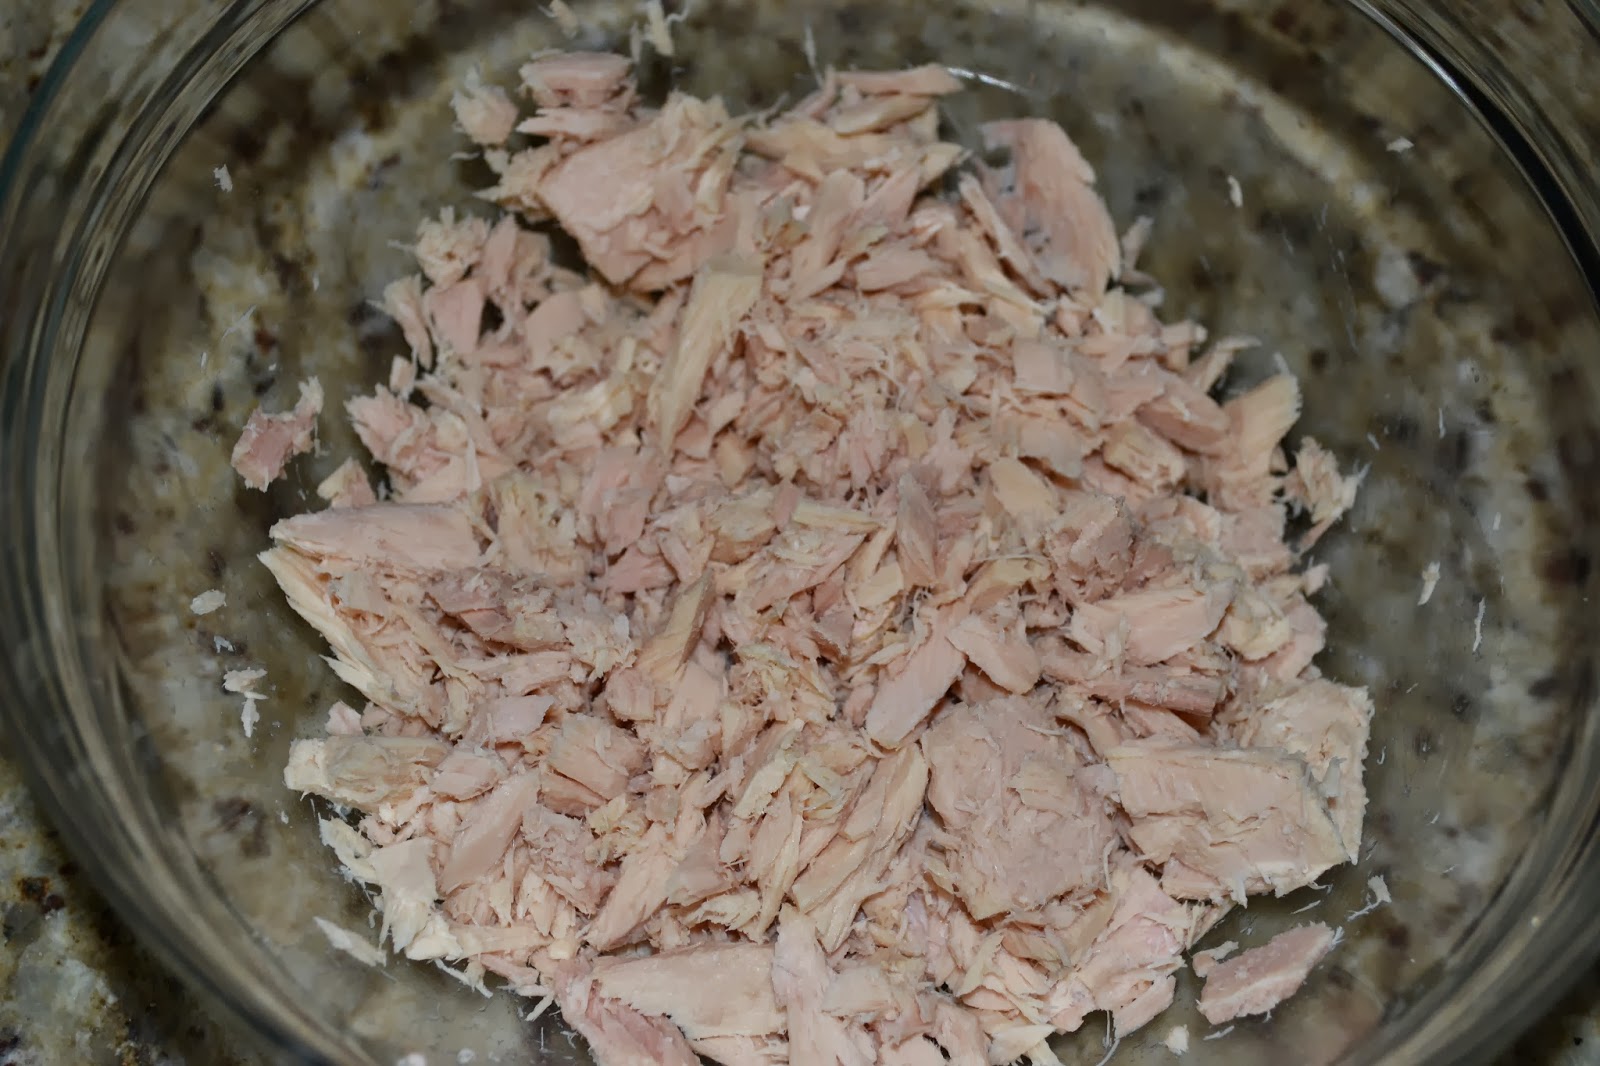
  5. Strain canned tuna from water, and put into bowl. Using a fork, break apart large chunks. 
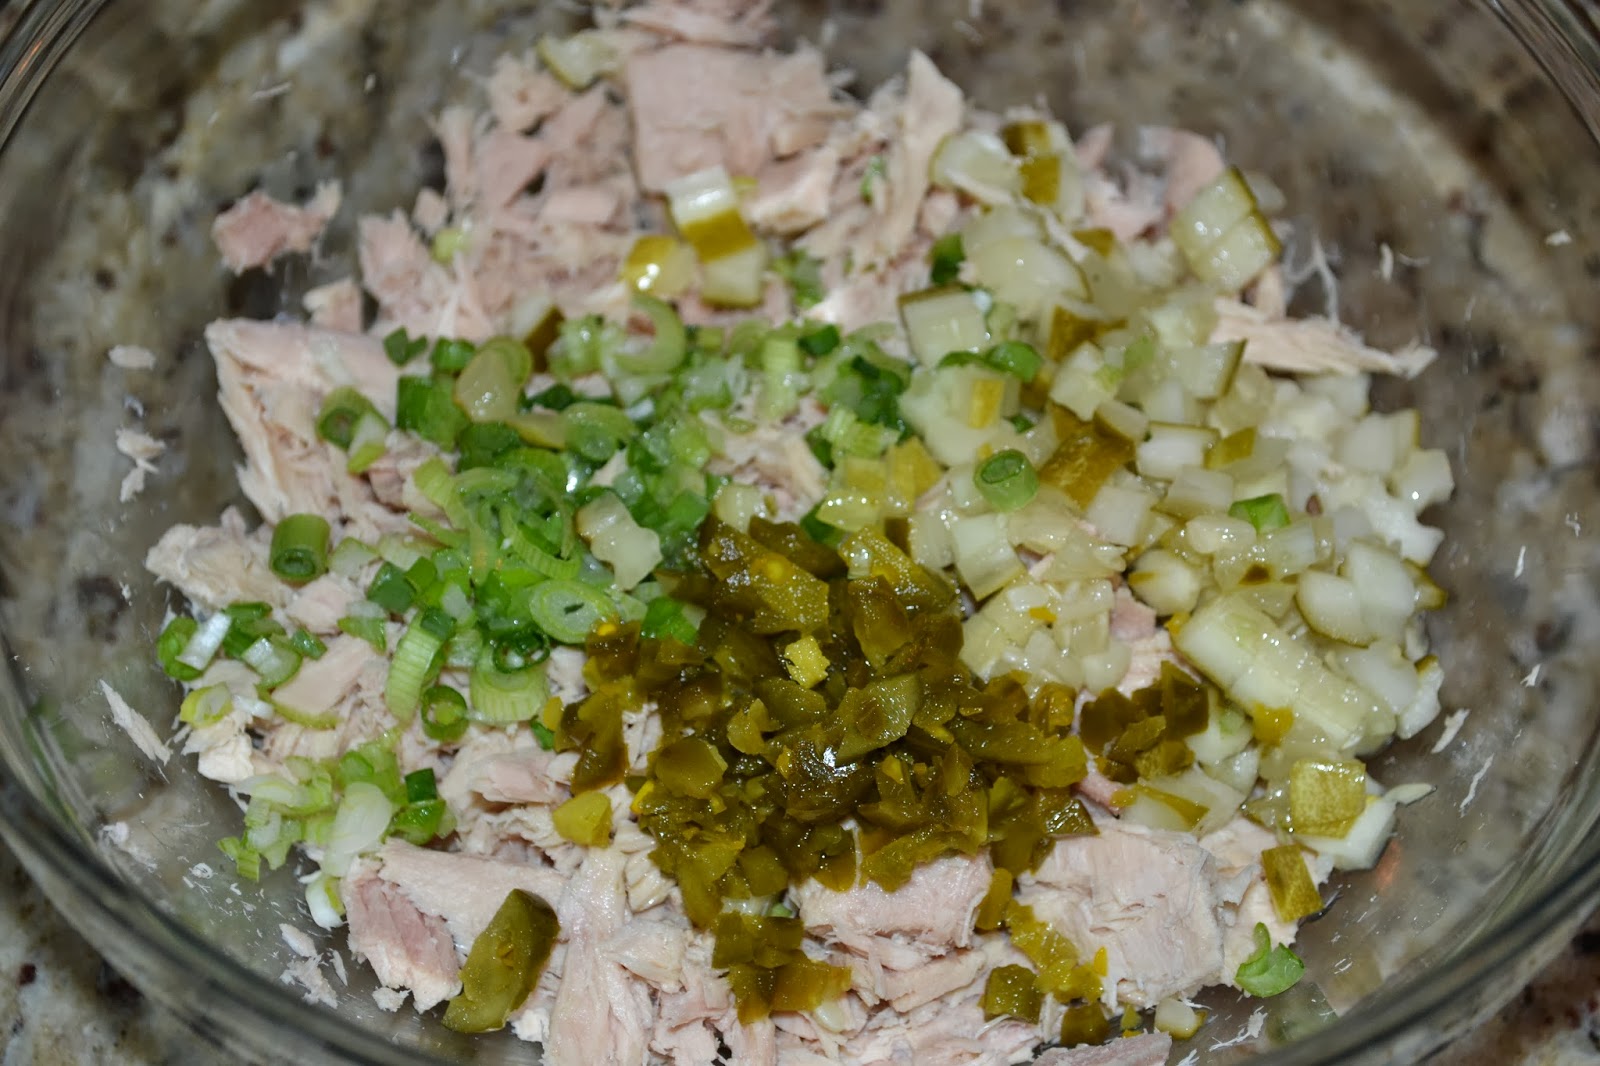
  6. To the tuna add the chopped green onion, pickle and jalapeno.
  7. To the bowl add the remaining ingredients - mayo, mustard, salt, pepper, dill. 
  8. Mix well and taste. Tuna salad is great since you cant really mess it up. Add any more ingredients you aren't tasting or you would like to taste more of.
  9. Cover and refrigerate for at least 1 hour. 
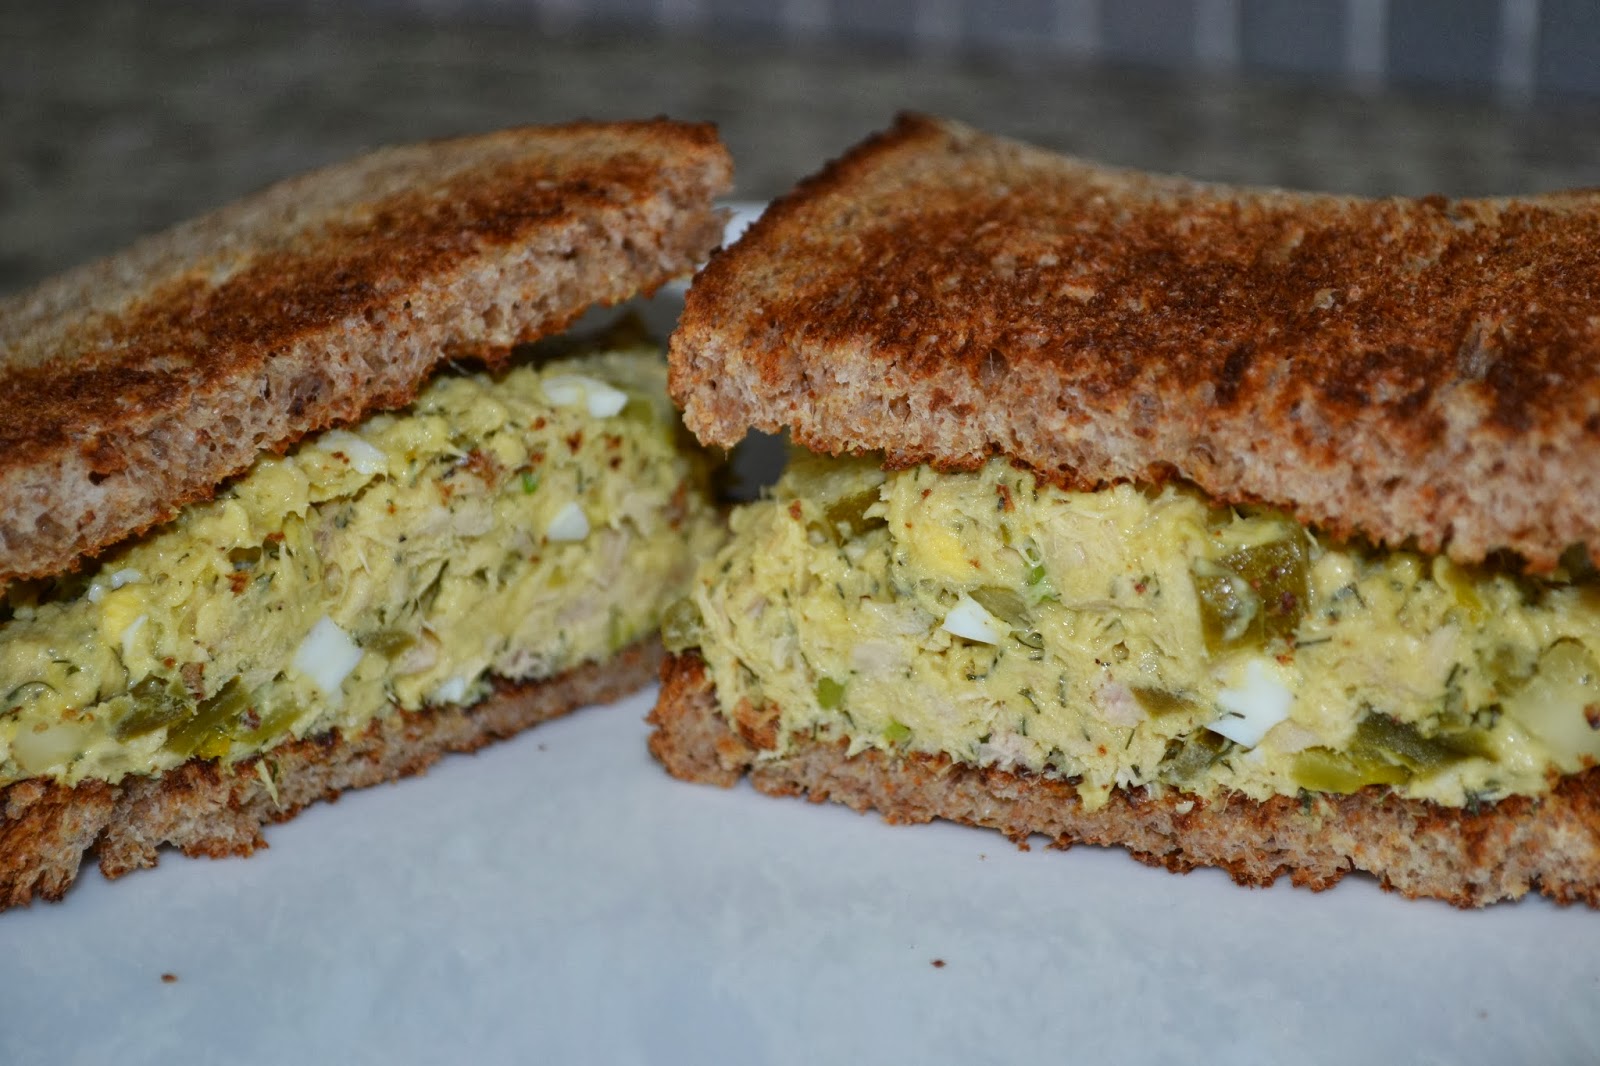
  10. If serving a sandwich, toast the bread and load up with tuna salad. 
Enjoy!

Ingredients
Step 1: Boiling eggs
Step 3 - checking for doneness
Step 3 - chopping eggs
Step 5: Tuna out of can, strained and broken up. 
Chopping green onions
Step 6: Adding green onion, pickle & jalapeno
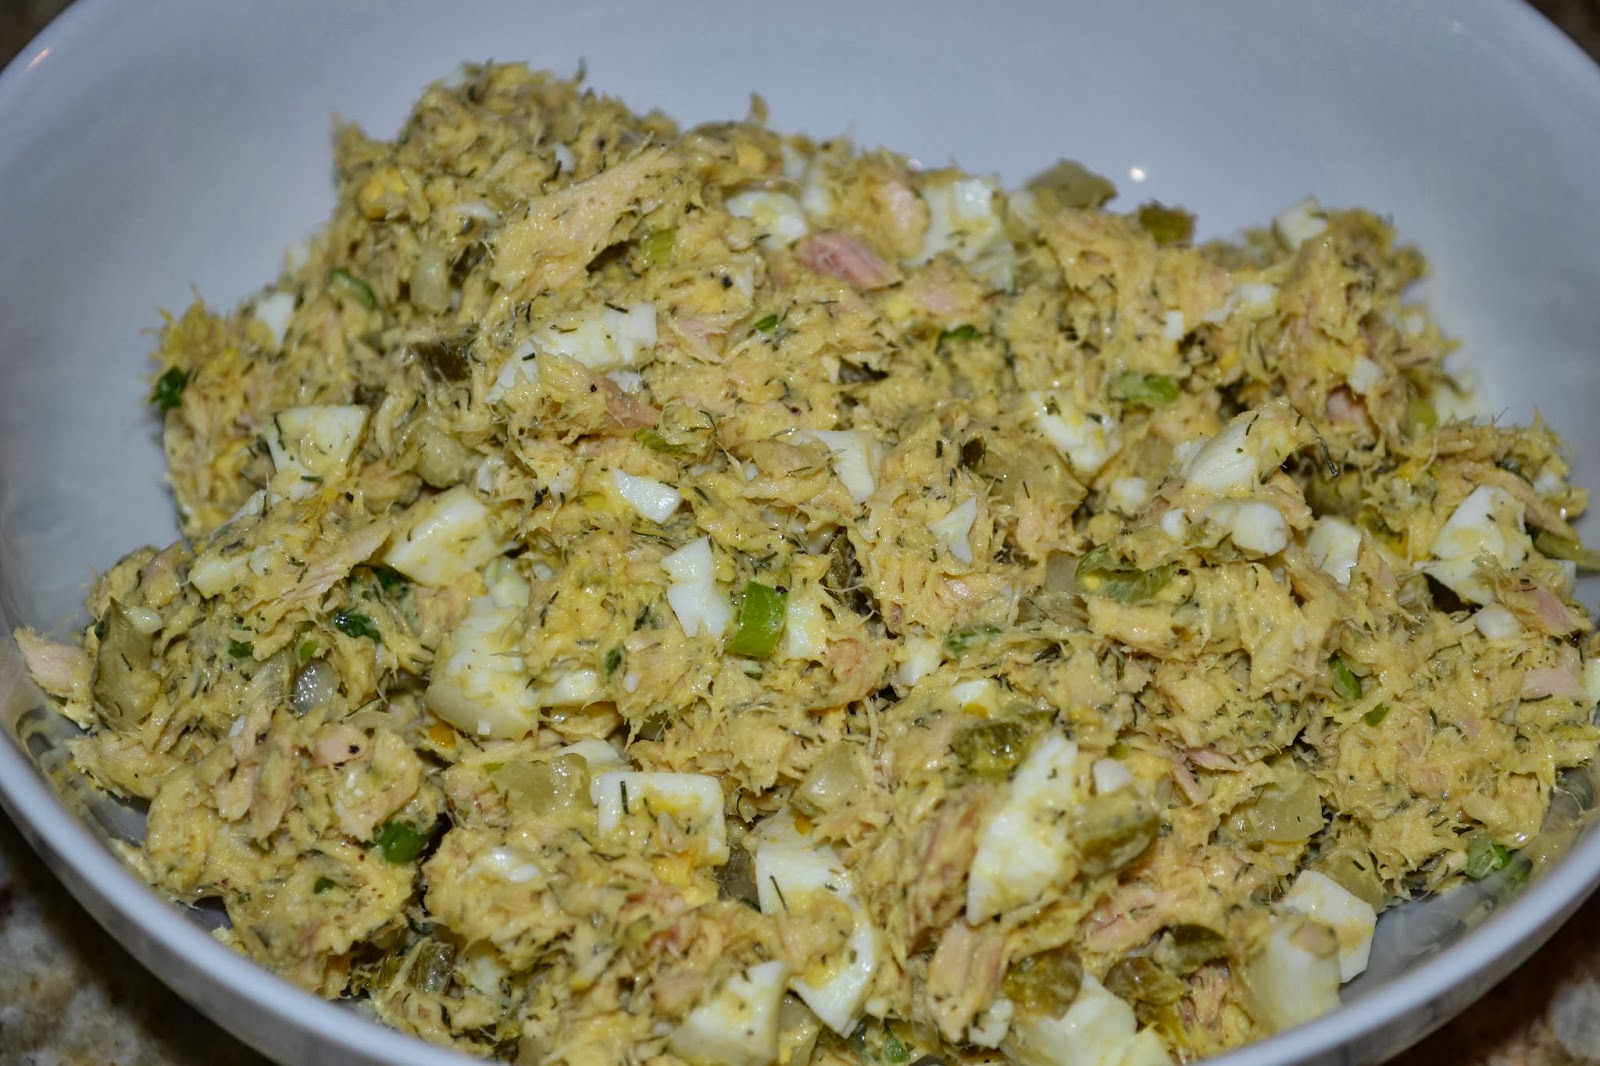
Step 8: Mixed tuna salad - time to refrigerate!
Step 10: Sandwich presentation

Tuesday, January 28, 2014

Grilled Glazed Pork Chops


Pork is a great meat. Period. There are so many parts of the pig that I respect and enjoy thoroughly - belly, ribs, chops, shanks, NOM. Pork chops are always very reasonably priced at the grocery store compared to other meats, and they are delicious! They are easy to cook, quick on the grill, absorb flavor like a champ and are very versatile.

Tonight I am making my Restaurant Redo of The Jackson Salad and knowing my husband, he likes meat w/ dinner. So instead of doing just an entree salad, I chose to make these pork chops to accompany. This is a trusted recipe for quick weeknight dinners - it will never let you down. I make the marinade, let marinate overnight, and we grill them when we get home from work. These are sweet and a bit tangy - just the perfect balance!

And here's how...

INGREDIENTS:


  • 1 tsp dried ground oregano
  • 1 tsp onion powder
  • 1/2 cup olive oil
  • 1/3 cup lemon juice
  • 1/3 cup soy sauce
  • 1.5 tbsp brown sugar
  • 1 tsp black pepper

DIRECTIONS: 


  1. In a mason jar or a bowl with tight fitting lid, combine all ingredients.
  2. Shake well.
  3. Place pork chops into bowl or shallow pan just large enough to hold the meat. Pour over marinade, cover and let sit for at least 2 hours, no longer than 24. I let mine rest for about 20 hours.
  4. Remove pork from marinade and place on plate - heat up the grill, but do not grill yet. 
  5. Place remaining marinade into small saucepan and bring to boil for 5 minutes. Stir occasionally. 
    • This sauce will now be used for basting the chops while on the grill - but we must boil it first since it was in contact with raw meat. It was contaminated so we boiled out all the bad bacteria.
  6. Turn off heat and let sauce rest.
  7. Place porkchops on grill and if you want those awesome cross-hatch grill marks, check out this video by Weber. Very cool and helpful. 
  8. As you cook each side of the meat, baste lightly with the sauce that has been boiled. There is sugar in the sauce so be sure not to use too much or it will caramelize and burn. 
  9. Pork should be at 145 degrees for medium rare. We usually cook ours until it registers 150 and let rest for a few minutes. 
  10. EAT! 
Ingredients
Step 1 - making marinade
Step 3 - marinate the pork chops
Step 4: Remove chops from marinade
Step 5: Boiling the marinade
FINAL PRODUCT
Pork with The Jackson Salad (Restaurant Redo post)

Restaurant Redo: Gram & Dun, The Jackson Salad


Gram & Dun - main dining room
In these 'Restaurant Redo' posts, I highlight the variety of plates I've eaten at the restaurant, give a quick opinion of the place, and choose a few dishes to attempt to recreate. Lets do this.

 Gram & Dun is a KC Gastropub that is always at the top of my list of 'go to' restaurants. Its never let me down and is the perfect atmosphere. Not too fancy and not too casual. Its great for all occasions. Dinner w/ friends, girls night out, dinner for two, lunch, work colleagues, cocktails & apps - you name it. It is reasonably priced, great location in the Country Club Plaza, beautifully decorated, modern, always bustling, and most importantly have a delicious menu filled with flavor-packed items, yummy cocktails and a solid wine list. In these 'Restaurant Redo' posts, I  choose a few dishes to attempt to recreate, and show some free food porn from my visit(s).

In addition to enjoying a night out eating fabulous food, I find inspiration for dishes to try at home. My process: I scour Google to find the plate components, then research techniques and/or recipes that seem close to what I tasted and then I get to work. I seldom get it 100% right on the first try, but after I while, I always figure it out.
My standard uniform & placement when researching foodstuffs online
The first Gram & Dun recreation I attempted was a salad. Not too intimidating, not too much 'cooking' which sound easy, but this mix of flavors won't be easy to replicate. But I shall triumph and I have faith - pretty much because with quality ingredients, it will be delicious either way. The Jackson Salad has grilled romaine, artichoke hearts, hearts of palm, bacon, blue cheese and apple-cider mustard vinaigrette. Why grill romaine? WELL WHY NOT? Just kidding - because its different, it adds a smoky flavor and changes the flavors of the salad just enough to make it really interesting but subtle. If you aren't in the mood for that, just use 'raw' romaine.

Gram & Dun - Jackson Salad
The recipe isn't 100% as we had at the restaurant, but it was super close and was so delicious I didn't care. This recipe will feed 5 with a nice large side salad or 3 persons as a dinner salad. Trim back the recipe according to what works for you. If you want to save some for leftovers, only dress what you plan to use so the dressing doesn't make the lettuce soggy. Reserve dressing on the side and just make another salad the next day.

The salad could be a main meal, but I served it as a side salad with my grilled glazed pork chops. Here's my restaurant redo:

INGREDIENTS:

  • 2 heads of romain lettuce 
  • 4 strips thick cut bacon
  • 1 14oz can or jar quartered artichoke hearts 
  • 1 14 oz can or jar of hearts of palm 
  • 1 cup blue cheese crumbles
  • 1 tbsp chopped fresh chives
  • 1 tbsp your choice of herbs (I used herbs de provence, but thyme and rosemary also work well)
  • 1/4 cup deli style mustard
  • 4 tbsp apple-cider vinegar
  • 3 tbsp shallots
  • 3 tbsp honey
  • 3/4 cup EVOO 
  • 1 tsp salt
  • 1 tsp fresh ground pepper

DIRECTIONS:

Apple cider mustard salad dressing (make first or make ahead of time):
  1. Place mustard, vinegar, shallots, honey, almost all of the EVOO (set 1 tbsp aside for grilling the lettuce), salt & pepper in a mason jar, or bowl with a tight fitting lid and shake shake shake until emulsified. 
    • This basically means mixing two liquids that wouldn't normally mix easily together: like oil and water. Mayo and hollandaise are examples. 
    • Will need to shake well right before drizzling onto salad

Creating the salad:
  1. Trim the tops of the romain hearts
  2. Mix 1 tbsp EVOO and your choice of herbs
  3. Brush a light layer of EVOO/thyme mixture onto the outside leaves of both heads of lettuce
  4. Slice bacon slices into small strips and cook until crispy
  5. When bacon is cooked, remove from grease and set on paper towel to dry and crisp up a bit more
  6. Remove the artichoke hearts from the jar or can. Strain off any liquid. Set aside.
  7. Remove the hearts of palm from the jar or can. Strain off any liquid - chop smaller if needed. Should be sliced or chopped into 1/2 inch pieces or 1/2 thick rings. Your choice! Set aside. 
  8. Heat grill to medium-high heat
  9. Place romain lettuce onto grill and turn about every 1-2 minutes until slightly charred on the outside, SLIGHTLY charred. See pics below.
  10. Continue to rotate the lettuce until all sides are charred, some wilting of the leaves will occur. The goal here is to impart grilled flavor into the lettuce. 
  11. Once off the grill, chop off the bottom 2 inches of the romain lettuce (the head)
  12. Pull off the more charred and wilted pieces of lettuce and discard. The super wilted soggy layers won't taste good so just let them go. 
  13. Pull apart the leaves of lettuce. 
  14. Combine the firm charred pieces of exterior lettuce AND firm interior pieces and lay them on a platter or large plate.
  15. In rows, perpendicular to the length of the lettuce - lay down rows of bacon, then blue cheese, then hearts of palm, then artichoke hearts.
  16. Top with chopped chives. 
  17. Shake dressing one last time and drizzle on top. Remember some leaves already have oil so don't put too much on - overdressing is the worst!
  18. Time to eat! Take a few long pieces of lettuce and with it will come the 4 main toppings so you get a bit of everything. :) 
Step 2: Mix EVOO and your choice of herbs
Step 3: Brushing light layer of olive oil/herbs onto outside of lettuce

Steps 6 & 7: Prepping main salad toppings

Steps 9 & 10: Romaine lettuce just pulled from the grill
Step 11: chopping off heads of romaine
Step 14: Mixing charred lettuce and interior/firm lettuce

Step 15: Top the salad
Step 17: Drizzling salad dressing
FINAL PRODUCT

Jackson salad w/ Glazed Grilled pork chops - see recipe here
_________________________________________________________________________________

And as promised, here is that yummy Gram & Dun food porn that will definitely have you making reservations the next time you go out in KC. www.gramanddun.com 

Brunch

Deep fried bacon - yes, that is correct
Hangar Steak Eggs Benedict w/ Black Kale
Fried eggs over fries with chorizo, salsa verde, and cotija cheese
Joey Dogs: Sausage, pancake batter, maple mustard

Dinner

Short rib grilled cheese w/ fries and scratch-made ketchup
Short rib beef stroganoff
Scallops, collard greens & roasted blackened cauliflower
Ahi tuna salad, candied ginger, wonton & chili ginger vinaigrette
Chicken & waffles with syrup and hot sauce 
Shrimp, grits, and AVOCADO jalapeño gravy!  
Drinking Crossings Sauvignon Blanc - one of my faves!

 Dessert!

Gram & Dun Bar - AKA peanut butter nutty bar heaven!